In a nutshell
- 🍚 Perfect rice via a foil seal: trapped steam equalises heat and humidity, curbs hotspots, prevents scorching, and yields tender, separate grains every time.
- 🔧 Method: rinse, measure, bring to a bare simmer; crimp foil under the lid, lower heat, do not lift the lid; switch off and rest 10 minutes, then fluff. Oven option: 180°C (fan 165°C) with foil + lid.
- 📏 Ratios & times: use slightly less water due to lower evaporation; jasmine/basmati ~1:1.25 by weight (about 12 min simmer, 10 min rest), brown ~1:1.8 (30–35 min); add 5–10% water if skipping foil.
- 💡 Technique tips: keep a gentle simmer, choose a pot that keeps rice 2–3 cm deep, add a little oil for long-grain, soak basmati 20 minutes; if grains are chewy, re-cover for a few minutes.
- 🍽️ Versatility: the sealed-steam approach scales to pilafs, biryanis, and tray-bakes, delivering reliable texture, less waste, and a repeatable baseline you can tailor to taste.
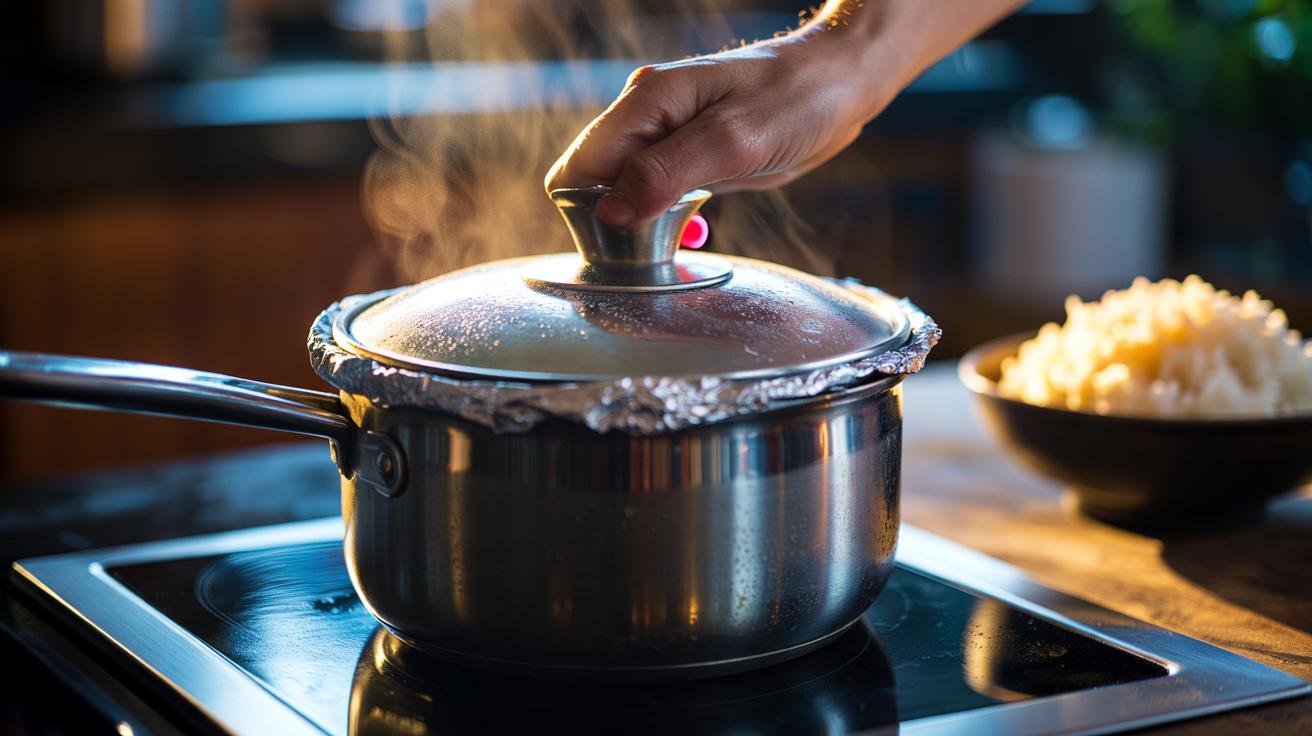
Perfect rice isn’t magic. It’s physics. The quiet trick professional kitchens use isn’t a fancy pot or a boutique grain; it’s a tight foil seal. By trapping steam, foil turns any saucepan into a mini pressure chamber that coaxes every grain to doneness at the same pace. No scorched bottoms, no wet crowns, no gummy middles. Just tender, separate, fragrant rice. The approach is simple, repeatable, and shockingly forgiving once you learn a few rules. Think of it as a gear shift: a tiny tweak with outsized impact. After one try, you’ll wonder how you ever put up with spluttering lids and inconsistent results.
Why Foil Fixes Rice: The Science of Trapped Steam
Rice cooks when starch granules absorb water and swell, a process called gelatinisation that begins around 70–80°C and finishes as the pot approaches a steady simmer. The problem is uneven evaporation. Unsealed lids vent precious moisture, so the top dries while the base drowns, yielding a pot that’s both soggy and crunchy. A snug layer of foil between pot and lid modifies the microclimate: steam condenses on the foil’s underside, rains back as ultra-fine droplets, and equalises heat and humidity throughout. The entire pot becomes a controlled steam bath.
Foil also mutes boil intensity. Less escape means stable temperature and pressure, so grains don’t buffet around and break. Edge-to-centre heat distribution improves, minimising hotspots that cause scorching. The result: consistent hydration and even texture from the first grain to the last. Because evaporation is reduced, you can use slightly less water than with a loose lid, shave minutes off the simmer, and still land fluffy, glossy rice with clean separation. Simple physics. Reliable outcomes.
The Foil Method, Step by Step
Rinse 200–300 g rice in cold water until it runs mostly clear. Drain well. Tip into a medium, heavy-based saucepan. Add measured water (see ratios below) and ½ tsp fine salt per 200 g rice if you like seasoning. A teaspoon of butter or oil helps prevent stickiness in long-grain styles, though purists may skip it. Bring to a bare simmer over medium heat, uncovered, just until small bubbles break the surface.
Kill the noise before it escalates: lay a sheet of foil over the pot, crimping it firmly around the rim to seal. Clamp the lid on top. Reduce heat to low so it simmers quietly. Do not lift the lid during cooking or resting. That single rule preserves the steam balance that makes this technique bulletproof. When the time’s up, turn off the heat and let it stand, still sealed, for 10 minutes. Those minutes matter. The trapped steam finishes the core and relaxes the surface starches for fluff you can see.
Fluff with a fork or chopsticks, sweeping from the edges inward. If you taste a hint of chew, re-cover for 3–5 minutes; residual heat will fix it. Using an oven? Assemble rice and water in an ovenproof pot, cover with foil plus lid, and bake at 180°C fan 165°C until tender using the same timings. Small pot, big difference: choose a pan that keeps rice at least 2–3 cm deep so steam circulates evenly.
Ratios and Times for Popular Rice
Because the foil seal curbs evaporation, you’ll need a touch less water than with a loose lid. The figures below assume rinsed rice, a gentle low simmer, and a proper rest. If your rice is very new (fresh harvest) or pre-soaked, start at the lower end of the water range. For older, very dry grains, add a tablespoon or two more water per cup.
| Rice Type | Rice : Water (volume) | Simmer Time | Rest Time | Notes |
|---|---|---|---|---|
| Jasmine (white) | 1 : 1.25–1.3 | 12 minutes | 10 minutes | Fragrant, tender, slightly clinging |
| Basmati (white) | 1 : 1.25–1.4 | 10–12 minutes | 10 minutes | Soak 20 minutes for extra length |
| Long-Grain (US/Carolina) | 1 : 1.35–1.5 | 14 minutes | 10 minutes | Add 1 tsp oil per cup for fluff |
| Short-Grain/Sushi | 1 : 1.1–1.2 | 12 minutes | 15 minutes | Season with sushi-su after resting |
| Brown Long-Grain | 1 : 1.8 | 30–35 minutes | 10 minutes | Soak 30 minutes to speed hydration |
| Wild Rice Blend | 1 : 2.2–2.4 | 40–45 minutes | 10 minutes | Not a true rice; needs more water |
Prefer weighing? For jasmine and basmati, aim near 1:1.25 by weight (e.g., 200 g rice to 250 g water). For brown, 1:1.8 by weight is reliable. If you ditch the foil and rely on a loose lid, increase water by roughly 5–10% to offset evaporation. Keep the simmer gentle. Vigorous boiling can tear grains, creating stickiness even when the ratio is right.
Rice reveals the power of small interventions. Seal with foil, keep the heat modest, resist the urge to peek, and that elusive restaurant-quality texture becomes your Tuesday-night norm. Once you’re confident, apply the same logic to pilafs, biryanis, and oven-baked trays where sealed steam transforms spicing and structure. You’ll waste less water, rescue temperamental grains, and gain a repeatable baseline you can tweak for preference. Ready to retire guesswork and let physics cook supper—what grain will you foil-seal and perfect this week?
Did you like it?4.5/5 (29)